

Hey, fellow developers, this is my new blog post related to why I started my personal Gatsby.js blog and how to make one gatsby blog hosted on netlify?
Let's get started with it.
What is Gatsby.js?
Gatsby is a React-based, GraphQL powered static site generator. ... It uses powerful preconfiguration to build a website that uses only static files for incredibly fast page loads, service workers, code splitting, server-side rendering, intelligent image loading, asset optimization, and data prefetching. It is used to build static sites that are Progressive Web Apps, follow the latest web standards, and are optimized to be highly performant. It makes use of the latest and popular technologies including ReactJS, Webpack, GraphQL, modern ES6+ JavaScript and CSS
I finally created my personal Gatsby Blog hosted on netlify 😎
Why?
- One of the biggest pros of Gatsby is its ecosystem. There’s an endless number of plugins to add the features you need. (Though I didn't code anything except changing the template 🤣)
- Plenty of templates. (The template I'm using is very great and awesome.)
- You’re going to get a lightning-fast site, which in turn will boost your SEO.
See these pics -
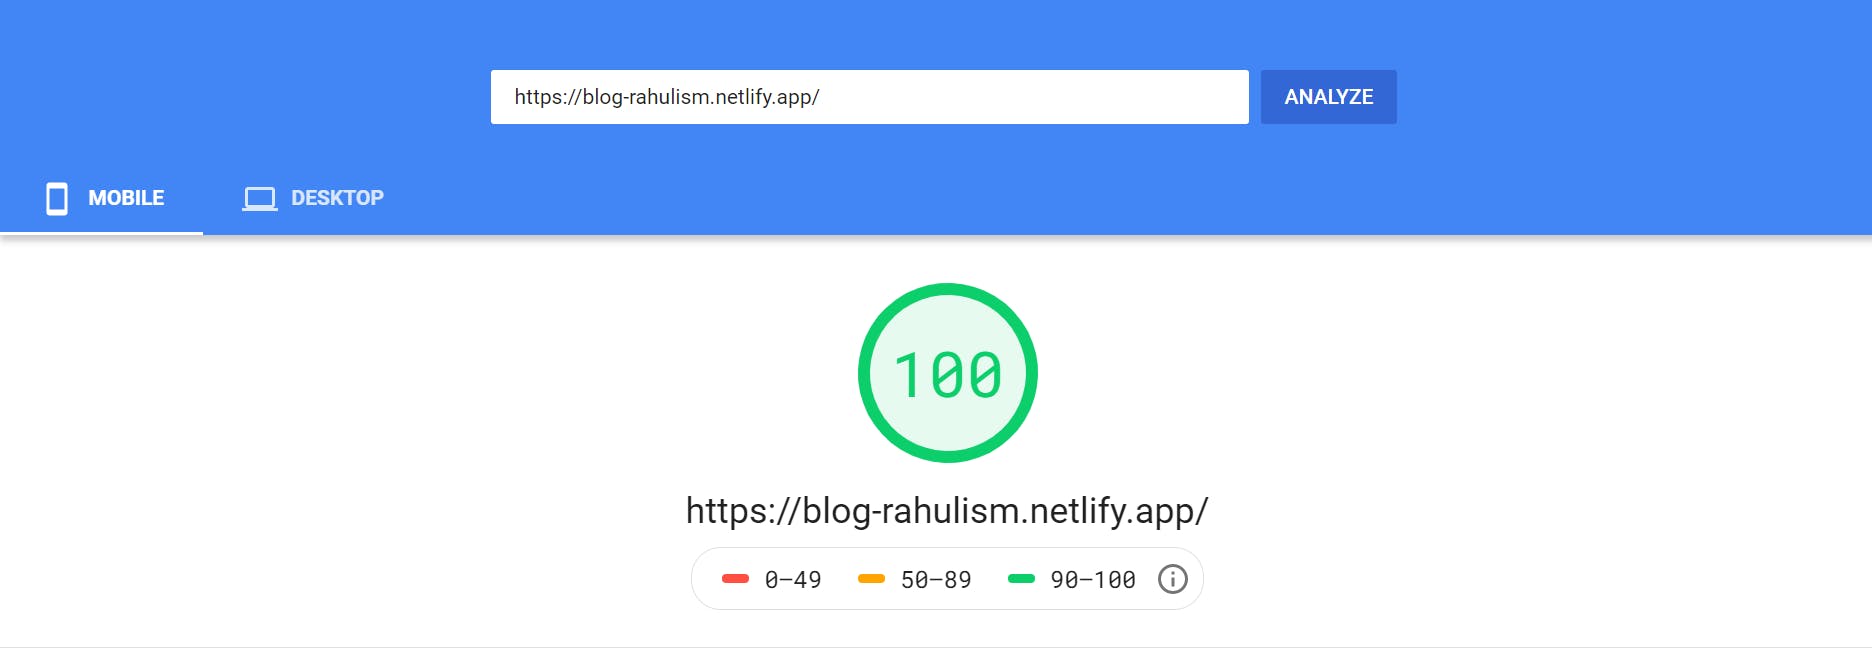

Isn't the above pics amazing? This is only you want for your blog !! These are of my personal blog. Checked using Page Speed Insights by Google.
- Cheap (or say Free) : You just have to find a blog template or you can simply use the gatsby starter template. Free hosting from Netlify and using Github to push your posts. You only have to pay some bucks for domain. Or if you don't need domain everything is free though.😂😂
How Gatsby works?
How it works ?
Gatsby does all the data fetching during build time. No matter where your data come from you can access it in the same way. Gatsby normalizes your data into a graphql API so you can read and display them easily.
At the end, gatsby will compile all of this into static assets and then allow you to deploy very quickly your app to a CDN of your choice rather than a traditional server.
For layman 😃😅 You code and develop your site, Gatsby transforms it into a directory with a single HTML file and your static assets.
How I created my personal blog using gatsby.js hosted on netlify?
I used the Leonidas template. It is responsive. Free obviously. Has dark/light mode. Did you saw the above images right? That obviously!
Want to use the same template(leonidas) for your blog ?
- Use the following commands.
$ git clone https://github.com/leonidas-120/gatsby-starter-netlify-cms [name of folder] $ cd [name of folder] $ npm install $ npm run develop - After this just shift to your browser and type Localhost:8000 your template will be running there.
- Now get to your folder where you have installed your template locally.
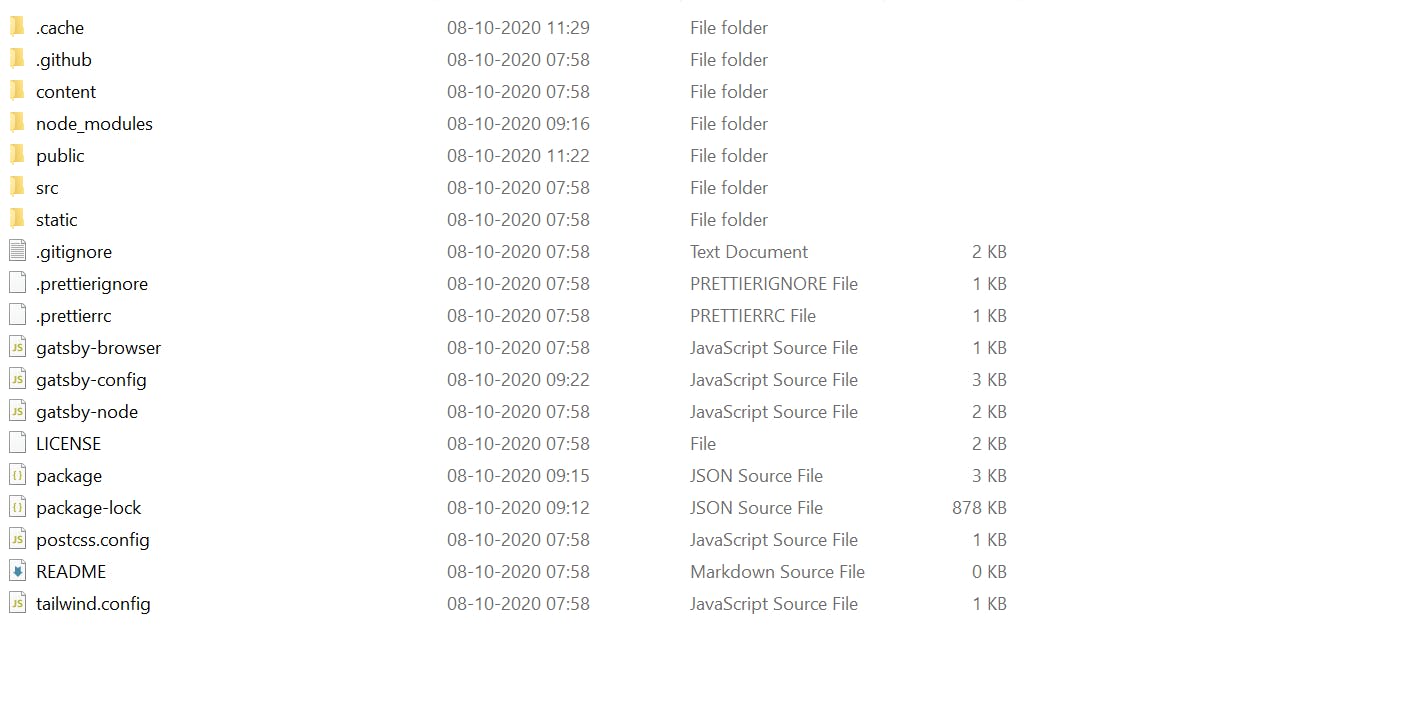 ou will see something like this. Head to your
 gatsby-config.jsfile and make some changes. (Don't touch any other folder if you don't have any prior knowledge about it or else you'll be in trouble. I was 🤣😂😂😂)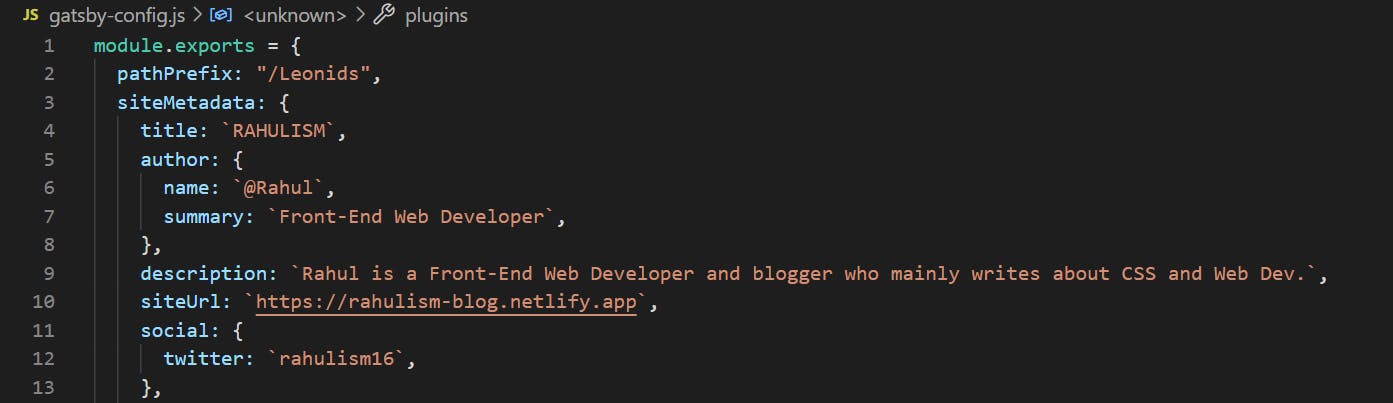 See the
 title,author,descriptionand all the required things. Just change with your info. And DONE!! Now your blog has been setted up!- Now delete the posts that are by default and add yours.(optional - Optional because you can also directly push to your GitHub)
- Use the following commands.
- Push on Github
- Create a repo
$ git remote add [YOUR_REPO_LINK] $ git add . // This will add all the files $ git branch -M main $ git push -u origin main // This will take some minutes and then your all the codes will be on on your Github repo.- Next step is for hosting.
Host on Netlify.
- Create an account on Netlify.
- Now you'll see an option for
New site from Git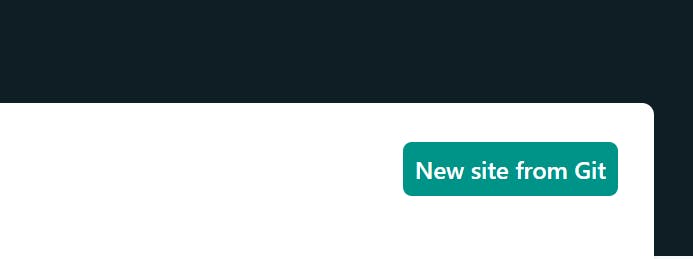
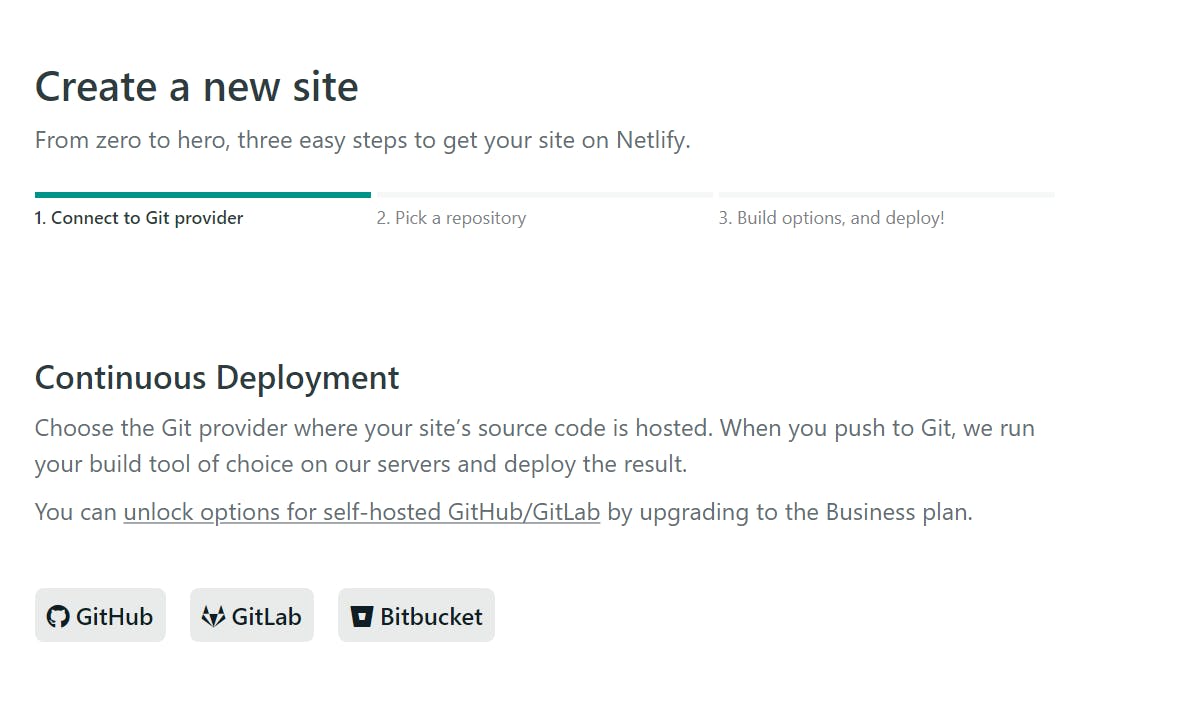
Now you'll be redirected here select GitHub (you'll be asked to log in and authorize netlify give the authorization ) and then select your repo where you uploaded your all the template files.
Now this will take some time and then your site will be live at
your-site-name.netlify.appyou can change the domain or add your personal domain or subdomain.
Now we've hosted our website the only thing left is posting our content on our blog.
Posting Content
- As you have the files saved locally. Head towards
/content/blogyou'll now see the all the blog your blog post written there. - How to write a blog post with keeping care of canonicals.
- Create a folder in
/content/blog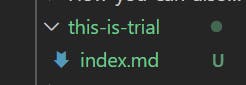 NOTE: The folder name will decide the canonicals.
Example -
NOTE: The folder name will decide the canonicals.
Example - How-to-download-vscode-?= This will be you canonical [your-site-name.netlify.app/ how-to-download-vscode-?] Keep care of canonicals. - Inside the empty folder create a file name
index.mdmd stands for markdown. This is the file you'll write your content on using the markdown syntax. If you want to learn more about markdown or want to know how to write in markdown? then
Visit - Learn MarkdownAfter writing your post now it's time to push it on Github.
- Assuming you know how to push in Github.
- Now it will take some minutes then netlify will automatically publish your post on you blog.
Ta da !! Done. You have posted new blog post. 😁😁😁
See it is very simple.
Things to remmember
- Keep care of date of posting article you may get error for posting wrong dates.
- Edit the site favicon and those image file.
- Having more problem contact me. See the twitter handle below the post.
Edit : Special Thanks To -> Chris Bongers
Thanks For Reading This Post. If you like let me know.
If you're curious where is my blog here is the link