React Router is the standard routing library for React. It has a simple API with all the powerful features like lazy code loading, dynamic route matching and location transition handling built-in. It allows us to create a multi-page feel in a single page application.
Let's see an example to understand the basic usage of React router. For example, we will consider an application with the following components.
<App>- The main component<Nav>- To keep the links for routing<Home>,<About>, and<Dashboard>- Different components to illustrate the routing
How to use the React Router?
Install the react-router DOM in your React project.
npm install react-router-domImport BrowserRoute, Route and switch components from "react-router-dom".
import {BrowserRouter, Route, Switch} from 'react-router-dom'
Sometimes you will see {BrowserRouter as Router} as the import statement. This is just a way to rename the names exports. Here we are renaming BrowserRouter to Router for ease of use.
- Wrap the components (where you want to create routing) by
<BrowserRouter>tags.
let App = () => {
    <div className="App">
    <Nav /> {/* This component sneeds to be available on all pages*/}
     <Router>
    {/*We need to setup routing here for home, about an dashboard*/}
      <Home />
      <About />
      <Dashboard />
     </Router>
    </div>
}
- Wrap all the Components (where you want to create routing ) by
<Switch>component.
let App = () => {
    <div className="App">
    <Nav /> {/* This component sneeds to be available on all pages*/}
     <Router>
    {/*We need to setup routing here for home, about an dashboard*/}
     <Switch>
      <Home />
      <About />
      <Dashboard />
     </Switch>
     </Router>
    </div>
}
A <Switch> looks through all its children <Route> elements and renders the first one whose path matches the current URL. Use a <Switch> any time you have multiple routes, but you want only one of them to render at a time.
- Now use the
<Route>component to create routing in your application.
let App = () => {
    <div className="App">
    <Nav />
    <Router>
      <Switch>
       <Route exact path="/">
        <Home />
       </Route>
       <Route path="/about">
         <About />
       </Route>
       <Route path="/dashboard">
         <Dashboard />
       </Route>
      </Switch>
     </Router>
    </div>
}
We need to use the exact prop to exactly match the link path. Otherwise, it will be routed to the first component which has that string. So if we don't use "exact", it will never render <About> and <Dashboard> components as they contain backslash in their names too.
- You are almost done. The basic routing is set up and you can test that by going on the app URL and adding
"/about"or"/dashboard". Now go to any component where you want to create the link for these routes and follow this example.
import {rowserRoute, Link} from 'react-router-dom';

let Nam = () => (
    <div className="Nav">
      <Router>
        <ul>
          <li> <Link to="/">Home</Link> </li>
          <li> <Link to="/about">About<Link> </li>
          <li> <Link to="/dashboard">Dashboard</Link> </li>
        </ul>
       </Router>
    </div>
)
To create the links React Router provides us with the <Link> component which takes the to prop for the link path.
So that's it, this I show you can create basic routing in your React application. Not only web apps React Router is also used for routing in native apps.
Thanks for Reading | Happy Coding
Removal.AI - [SPONSOR]
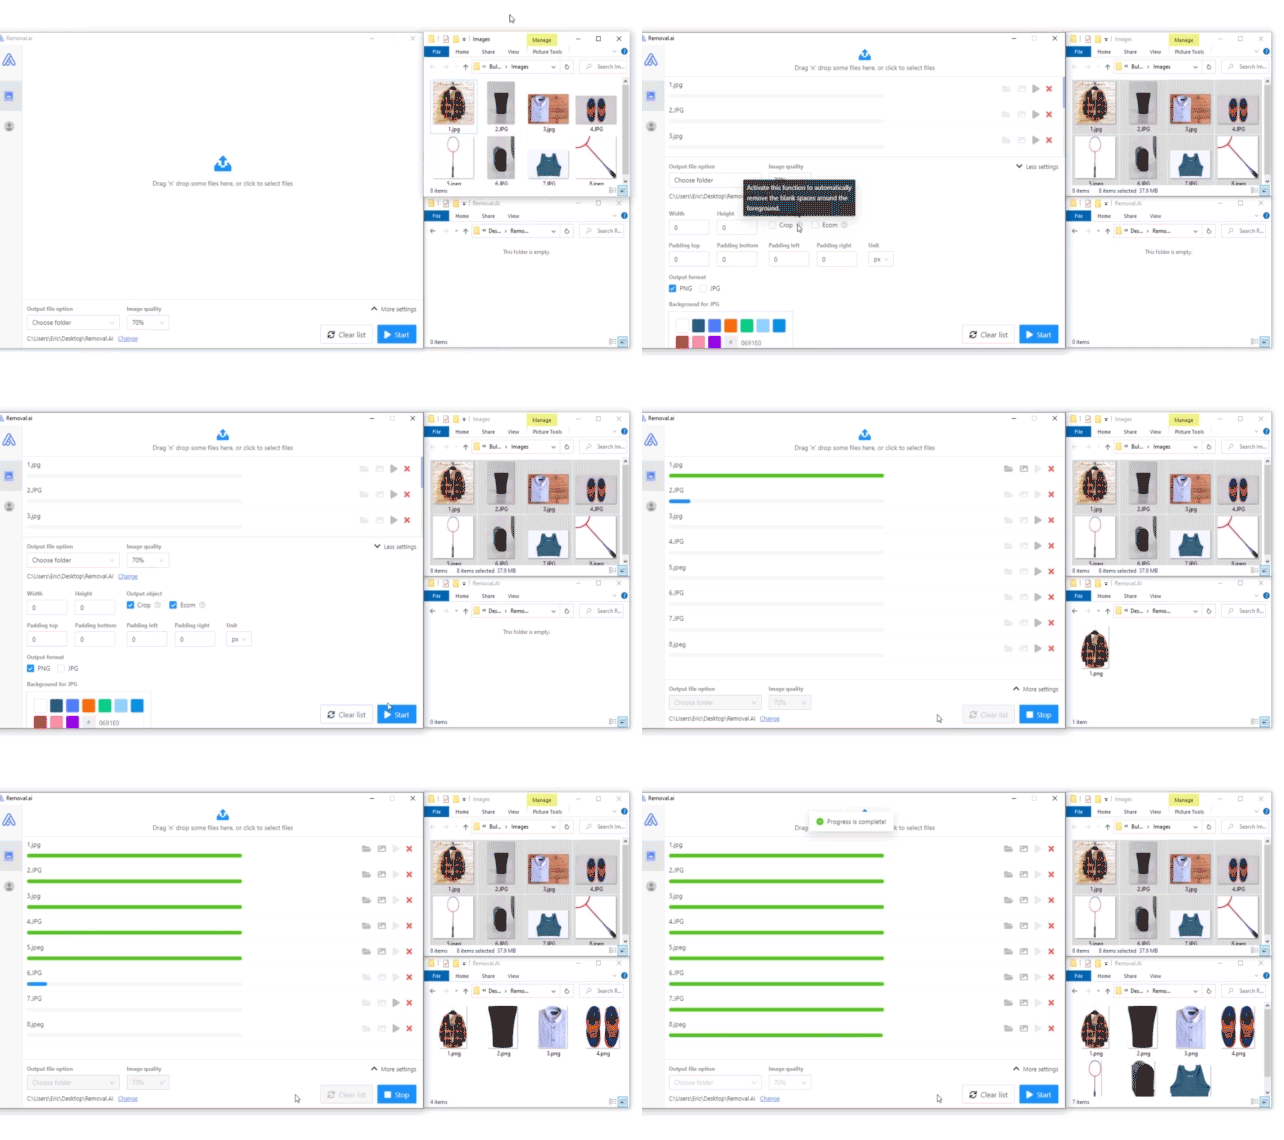
Remove background from multiple images in a single upload straight to your desktop using Bulk Photo Background Remover for Windows.
- ✅ Drag & Drop Multiple Images
- ✅ Optimize Product Images
- ✅ Select Your Background
- ✅ Set Your Output Size
- ✅ Exceptional Results

Visit -> Removal AI

